Using Custom Fields with CSV Imports
Last updated: June 5, 2026
Custom fields demonstrate their full potential when importing prospect data through CSV files, providing exceptional versatility in managing varied and specific information. This is the most efficient way to populate custom fields across large prospect lists.
Using Custom Fields for CSV Imports
When your prospect list contains diverse and specific details that fall outside typical fields, custom fields offer the ideal solution.
During the CSV import process, you can download our template, add the custom fields that you need for each prospect as table columns, and then use that CSV file as a search type in your campaign. They will effortlessly transfer into the platform for easy use across every step that contains text, such as Send Message, Send Connection Request, Send Email, etc.
This process guarantees that every detail from your CSV file is accurately captured within our database, including any data placed in custom fields.
How to Import a CSV File
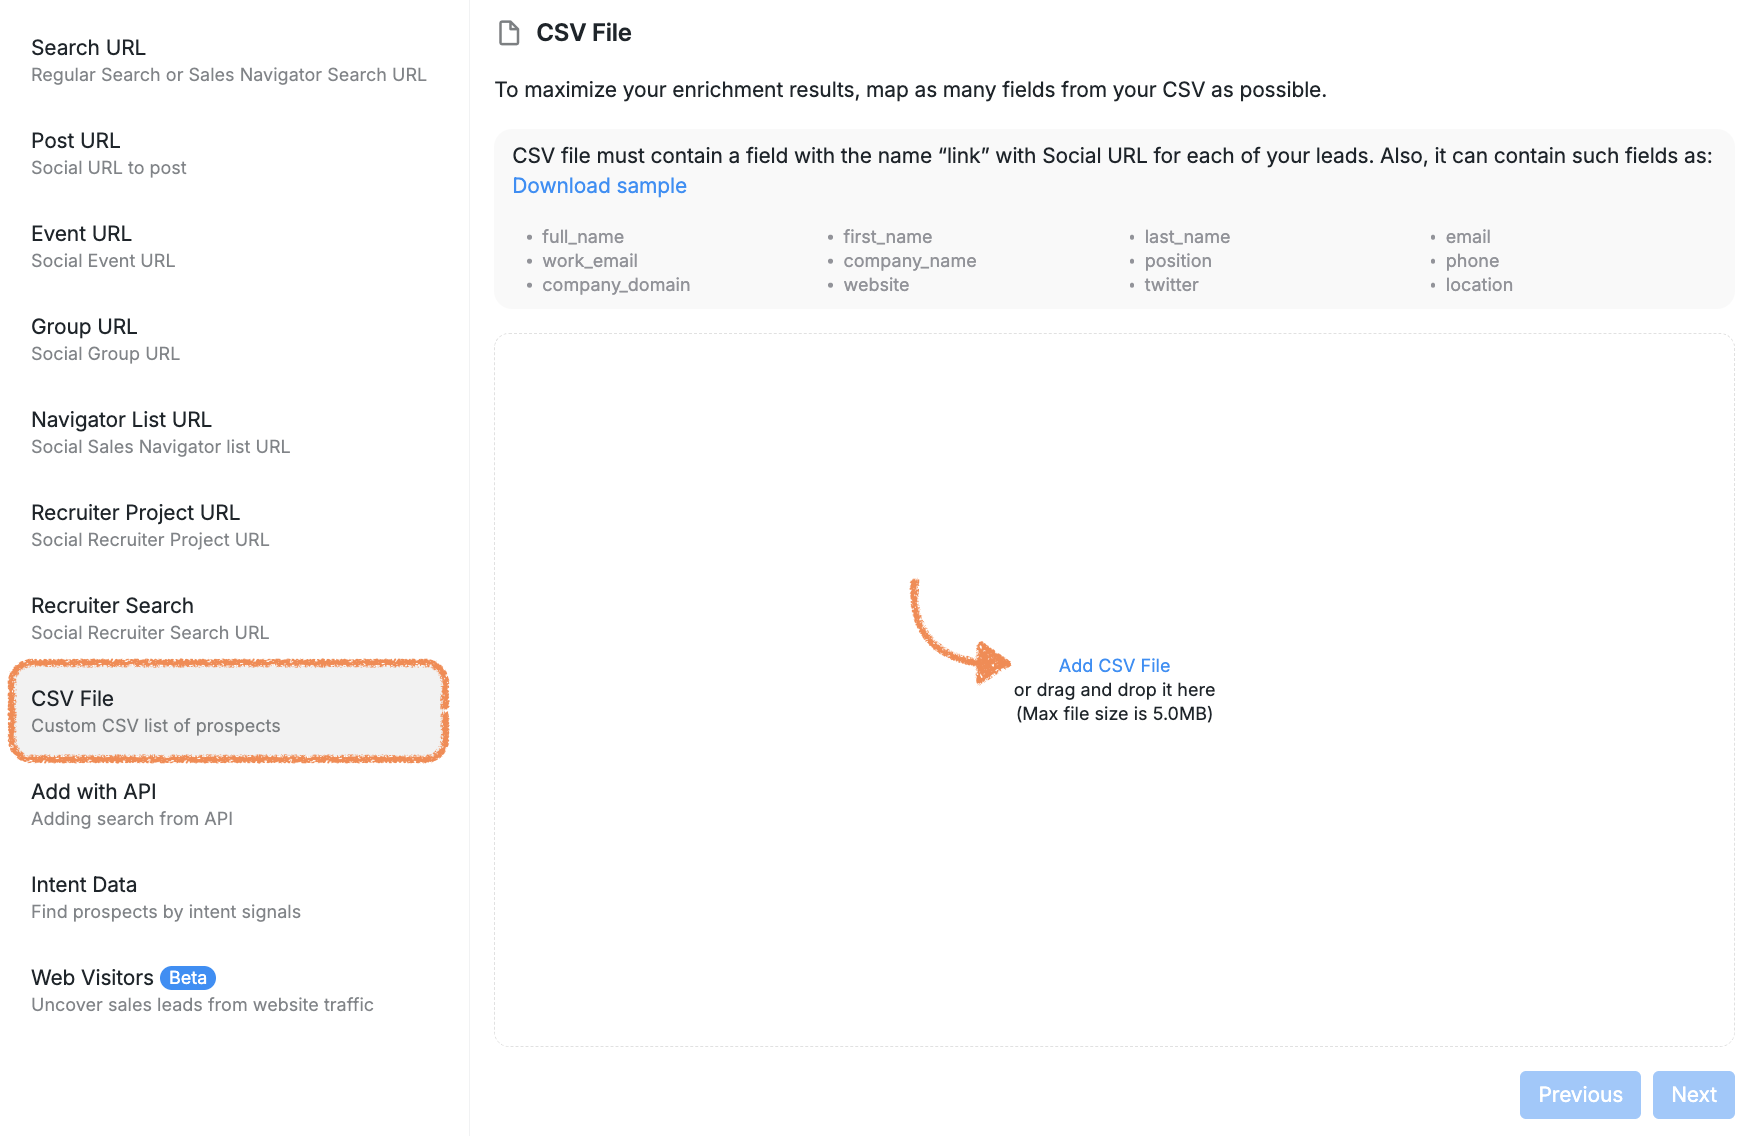
To import a CSV file, go to Campaigns > Create New Campaign > Choose Campaign Type > + Add Search.
Next, select CSV File from the right-hand sidebar and proceed by clicking Add CSV File.
Tips for Using Custom Fields Effectively
Here are a few tips on how to use custom fields more effectively:
Ensure that you use consistent naming to keep your database organized
Only create custom fields for information that is useful and relevant to your business processes
Make sure your team understands how to use and update custom fields.
For more details on how to troubleshoot prospects going to Pending because of incorrectly configured custom fields, please visit this article.
If you have any questions, please do not hesitate to contact our Customer Support team.