AI Employee: Connecting and Configuring Calendly
Last updated: February 13, 2026
AI Employees rely on Calendly to book meetings. In this article, we’ll walk through integration, syncing behavior, common issues, and best practices.
Once you have reached the final set of the AI Employee setup, you can set up your Calendly Integration to book meetings with your prospects.
If you don't have Calendly connected yet, click Connect and follow the instructions on the screen:
.png")
When integrating Calendly to use the AI Employee feature, it's important to understand how event types are synced. Our platform does not continuously refresh your Calendly event types in real time; some delay is normal.
If you don’t want to connect Calendly right away, you can click the Set Up Later button in the bottom-right corner of the screen. Your AI Employee will be saved as a draft and can be found in Workspace Settings > AI Employees, but you will still need to connect Calendly before using it.
Recommended Setup Flow
To ensure your Calendly event types are properly synced, follow this order:
Create your Calendly account
Set up your desired event types in Calendly
Connect your Calendly account to the platform
By following this sequence, the platform can immediately fetch and display your event types during the initial connection.
Common Issue to Avoid
Sometimes users connect Calendly before creating any event types. When that happens:
The platform connects successfully
No event types are available to fetch
New event types created afterward won’t appear right away
In this case, our system will eventually pick them up, but it may take some time.
❗If you change the Calendly user or have just added new event types to your Calendly, you can click the Refresh button next to the event types to quickly update them:

Best Practice
To avoid delays, always set up your Calendly event types before connecting. This ensures your event types sync correctly and are available when setting up AI Employee.
You can also check out this article to learn more about Calendly Intergation.
Once You Have Connected Calendly
If you or any user on your workspace have Calendly connected, you can customize how your AI Employee should use it to chat with prospects and schedule meetings:

Under Users, choose the user sending invitations.
Under Event Type, select the meeting type. You can customize the meeting types in your Calendly account.
In Approval, choose the type of approval:
With Manual Approval, you will have the option to approve messages, set delivery time, assign users, and prioritize tasks:

With Automatic, your AI Employee handles communication independently.
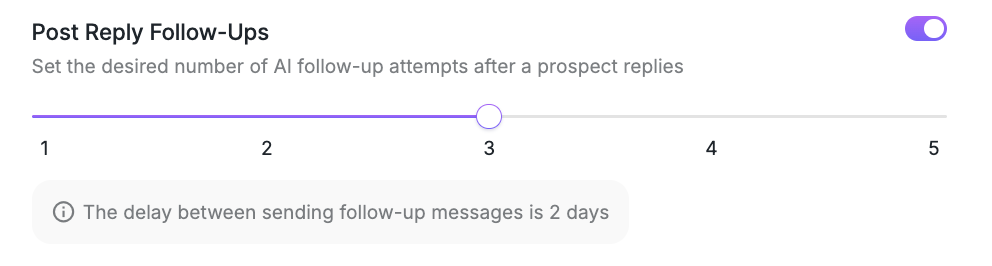
Customize the number of follow-up messages by toggling the setting.
Click Finish Update to save your settings.
You have successfully set up your AI Employee, and it’s now ready to be used in your campaigns.