Managing and Using AI Employees
Last updated: April 16, 2026
Once your AI Employee is created, you can edit it, assign it to campaigns, or activate it directly from your Inbox.
How to Edit an AI Employee
Go to Workspace Settings > AI Employees
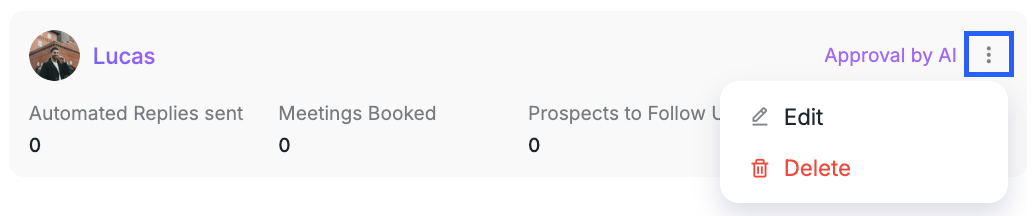
Click the three-dot menu next to the AI Employee you want to edit.
Choose Edit or Delete.
How to Add AI Employees to Campaigns
While creating a new campaign, assign an AI Employee to manage it by clicking AI Suite > Select during the campaign setup process:

Next, select the AI Employee you want to manage the campaign:

After you have chosen an Employee, click Update in the AI Targeting section and configure your targeting parameters.
Alternatively, apply the AI Employee targeting settings by clicking Reset to AI Employee Targeting:

To assign an AI Employee to an existing campaign, open the campaign's edit settings and follow the same steps used for adding an AI Employee to a new campaign.
Using AI Employees in Your Inbox
You can also activate an AI Employee directly from your Inbox:
Open the Inbox tab.
Select a conversation with a prospect.
In the right-hand sidebar, click Select to assign an AI Employee to the conversation.

You can switch to another AI Employee or disable the feature at any time:

Setting up AI Employees empowers your campaigns with precision, efficiency, and automation, freeing you to focus on driving results.
By tailoring targeting, messaging, and objectives, you create personalized, impactful interactions with your prospects.
If you need assistance or have questions, our Customer Support team is here to help — reach out anytime!