How to Connect Zapier Using Webhooks
Last updated: February 6, 2026
Follow this step-by-step guide to activate Webhooks via Zapier:
Login to Zapier and click + Create Zap.
Choose your Trigger: Search for "Webhooks"

3. Click Event to select what you would like to trigger the Zap. In this case, choose Catch Hook and click Continue.

4. Click Continue again and leave the Child Key field empty.
5. Copy the Webhook URL.

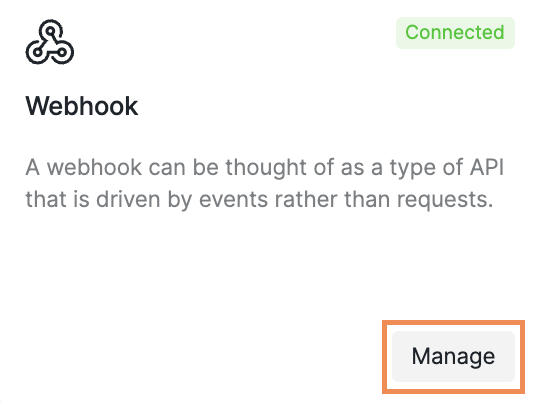
6. Go back to the Integrations tab on the platform and search for Webhook. Click Manage.
7. Click Create new Webhook.

8. Paste the copied link from Zapier into the Callback URL field.
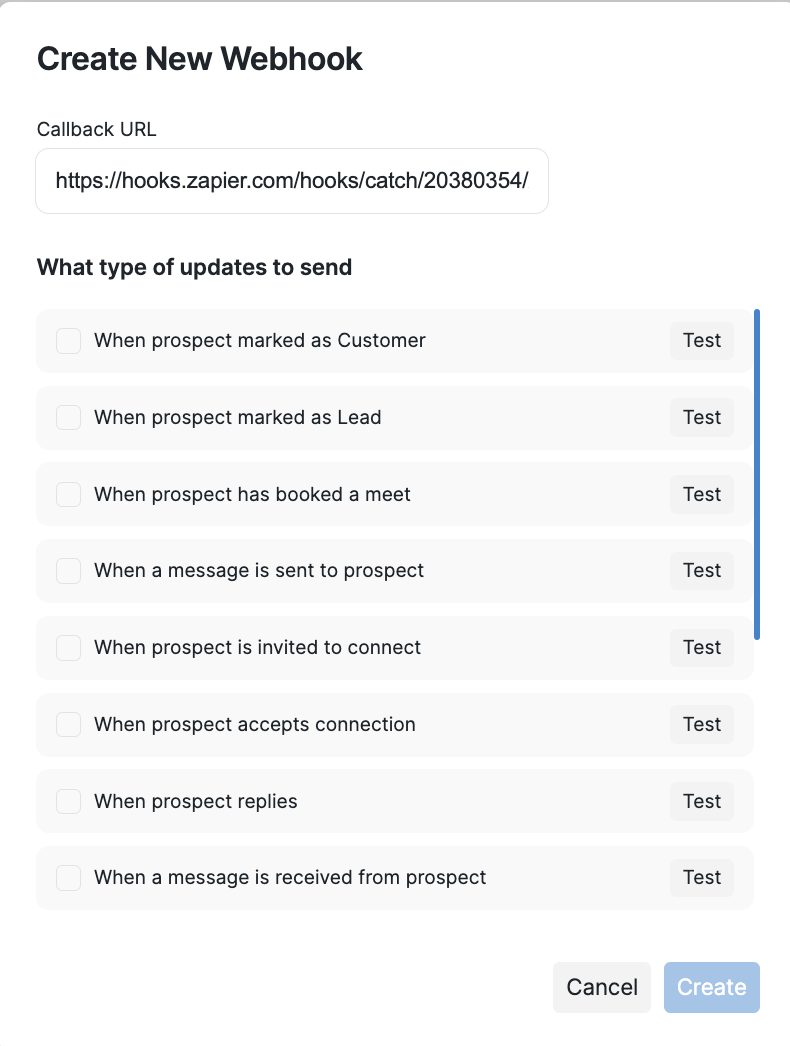
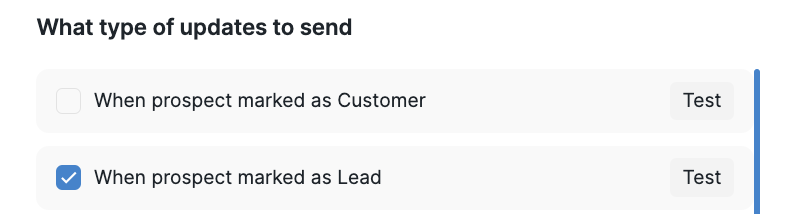
9. Select one trigger that will activate the Webhook, then click Test. For example, we will use "When prospect is marked as Lead".
While it is possible to add multiple triggers, we recommend against it since they all direct to the same endpoint and are not differentiated. If you would like to use multiple triggers, consider setting up separate Webhooks for each.
10. Click Test trigger on Zapier.
11. You should see a notification confirming the test was successful:
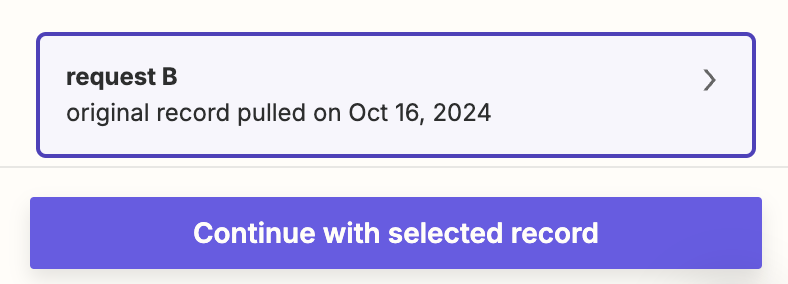
12. Click Continue with selected record.
13. Find the app you want to connect to, such as Google Sheets, to export your prospects.
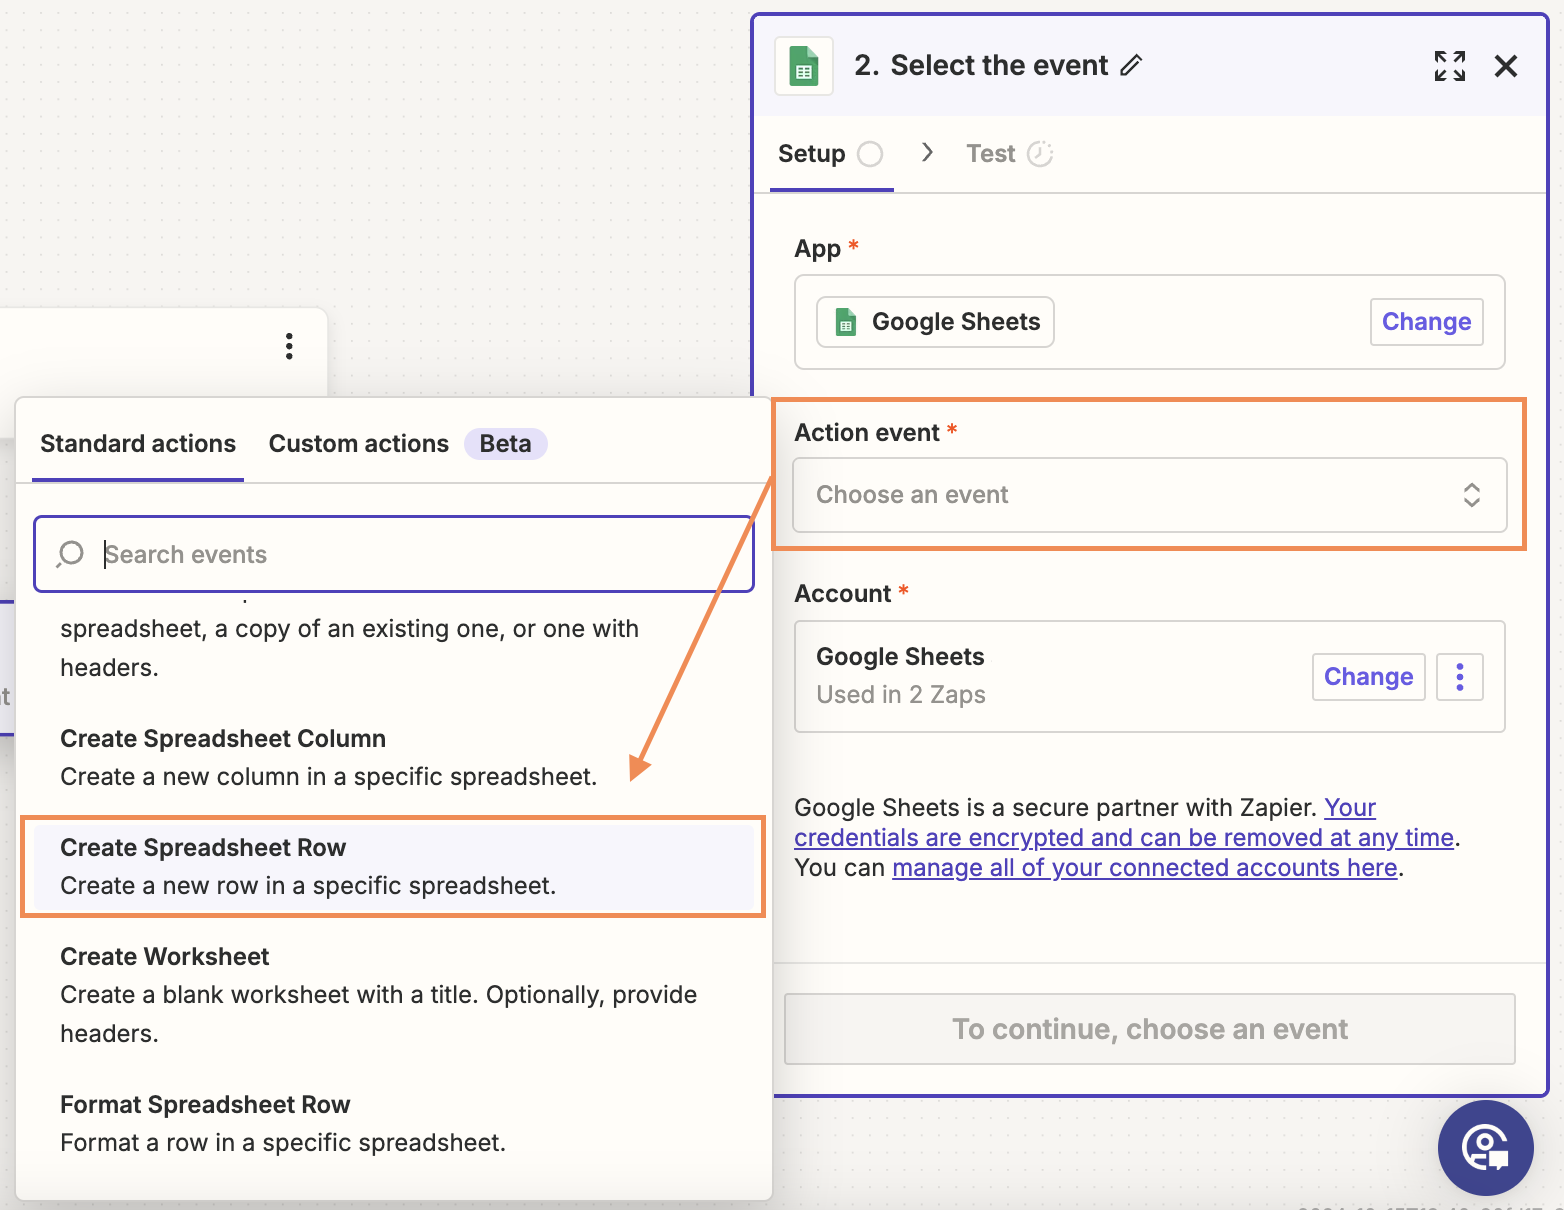
14. Select the action that will occur when the trigger activates. In this example, we choose Create Spreadsheet Row.
15. You will now be prompted to sign into the selected application with your credentials for that app. After you have done that, click Continue.
16. Configure the following:
Drive: Select the Google Drive containing your spreadsheet.
Spreadsheet: Choose the specific spreadsheet you want to update.
Worksheet: Select the worksheet within the spreadsheet.
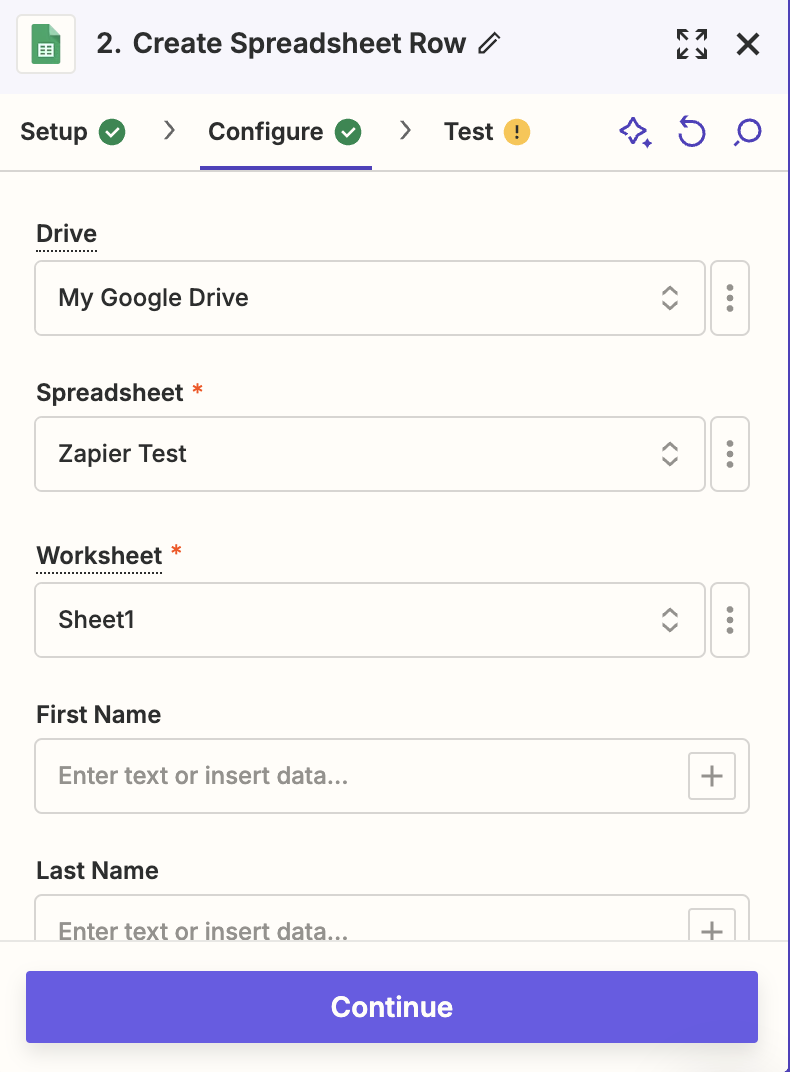
As you scroll down, you will see the headers (you have to set them up in your spreadsheet beforehand).
For each one, you can map a corresponding field from our platform. Zapier will then automatically pull the relevant information from these fields.

17. Once your fields are mapped, click Continue to proceed, test the step, and click Publish. Your Zap is now live!
You can now head back to the platform, mark the desired prospects as Leads, and watch them appear in your spreadsheet.
By carefully configuring your webhook settings and app integrations, you ensure that your data flows efficiently, saving time and reducing manual tasks.
For more detailed instructions on label management and data exports, contact our Customer Support team.