Connecting to Salesforce
Last updated: April 14, 2026
We now offer a native integration with Salesforce, making it easier than ever to keep your workflow smooth and your data where it belongs.
This integration is only available if your Salesforce plan includes API Access.
In this article, we’ll walk you through connecting your Salesforce account and verifying the connection.
Connecting Your Salesforce Account
To get started:
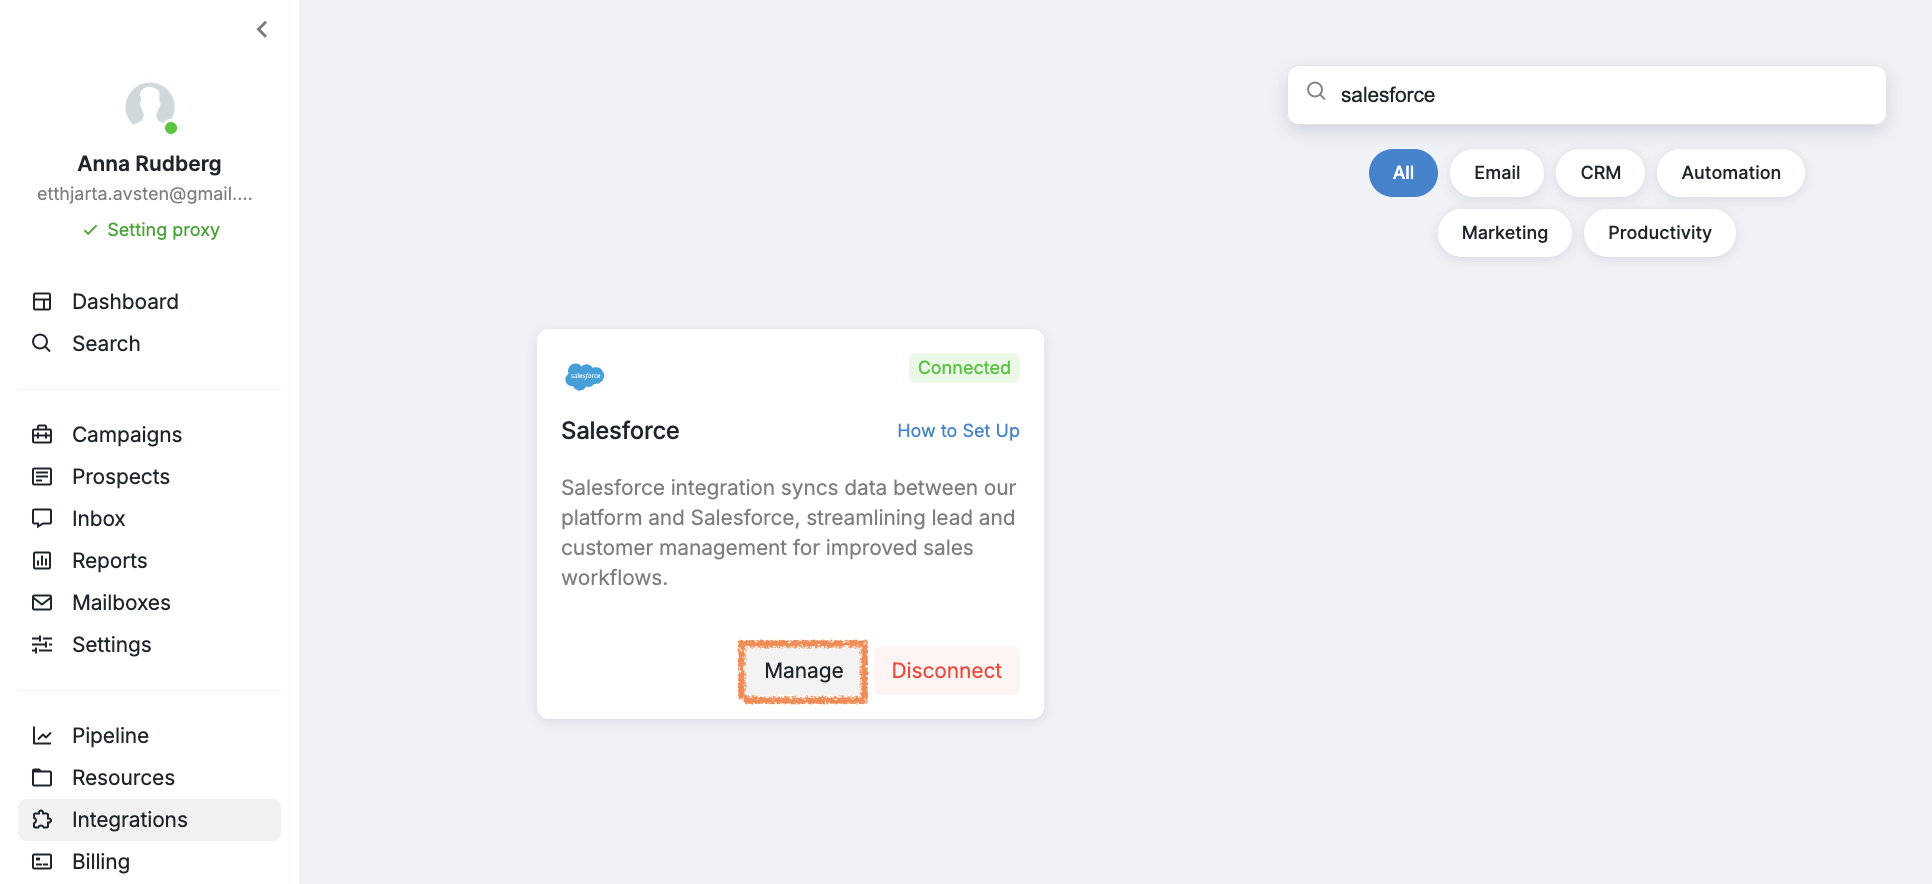
Go to the Integrations tab in your platform dashboard.
Find Salesforce in the list and click Connect.
.png")
You’ll be redirected to the Salesforce login page.
💡 If you’re already logged in on your browser, you might skip the login screen altogether.
Enter your Salesforce credentials and click Log In.
Permissions Required:
To complete the integration, the platform requires the following Salesforce permissions:
Access the identity URL service
Manage user data via APIs
Manage user data via Web browsers
Access Connect REST API resources
Access Visualforce applications
Access unique user identifiers
Access custom permissions
Access Analytics REST API resources
Access Analytics REST API Charts Geodata resources
Manage hub connections
Manage Pardot services
Access Lightning applications
Access content resources
Manage Data Cloud Ingestion API data
Manage Data Cloud profile data
Perform ANSI SQL queries on Data Cloud data
Access chatbot services
Perform segmentation on Data Cloud data
Manage Data Cloud Identity Resolution
Access Headless Forgot Password API
Manage Data Cloud Calculated Insight data
Access Headless Registration API
Access Interaction API resources
Access all Data Cloud API resources
Access Einstein GPT services
Access Headless Passwordless Login API
Perform requests at any time
Once connected, you should return to the platform and see the integration screen.

If not, go to Integrations > Salesforce > Manage.
Finally, ensure the app is installed in Salesforce. Click Install if needed.

Once the integration is connected, the following prospect data can now be pushed to the default fields in Salesforce:
First Name
Last Name
Email (personal email)
Phone (default phone number)
For additional data points, custom fields can be configured. See the article below for further instructions:
➡ How to Set Up Custom Fields in Salesforce
Keep in mind that Salesforce integration settings are set up for each Social Account individually.