Uploading a CSV File to the Blacklist
Last updated: April 13, 2026
If you have a large list of prospects to exclude, uploading a CSV file is the most efficient way to populate your blacklist. This article walks you through the process and formatting requirements.
Uploading a CSV File for Your Blacklist
If you already have a CSV file containing prospect data you want to exclude from your campaigns, you can upload it by clicking Upload CSV under the input field.
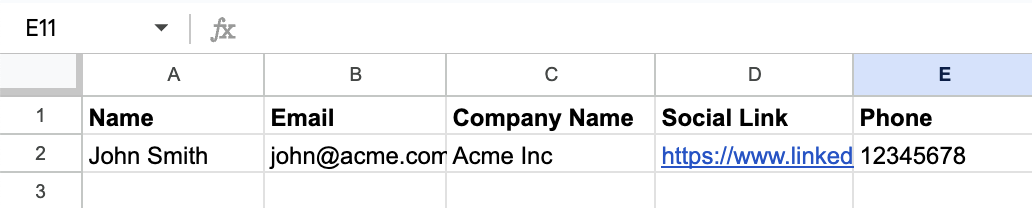
Formatting requirements:
Each field name should be placed in a separate column to keep the data structured and easy to read.
Each corresponding value should also be placed in its own column, ensuring that field names and values align correctly for clarity and consistency.
If any of the values match the data pulled for a prospect, that prospect will be added to the Blacklist.
Undoing a CSV Upload
If you've uploaded a CSV file but want to undo the upload, simply click the Cancel Recent Upload button. This option is available as long as you haven't navigated to another tab on the platform.

Using CSV uploads is a quick way to ensure that large batches of unwanted prospects are automatically filtered out, saving you hours of manual work.